Getting Crafty

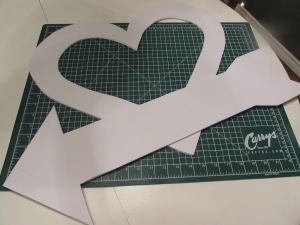
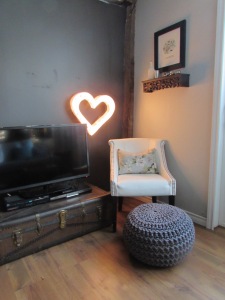
My friend Emma and I have once again teamed up for this week's Getting Crafty (you will remember her from our Terrarium DIY). This time, we decided to tackle the ever-popular Marquee Light. We will both admit that this was definitely a time consuming project, but totally worth the results (a glass of crafting wine was also key!). For the complete step-by-step guide we followed, click here.

List of Items Required:

  • White foam board (from the Dollar Store)
  • White bristol board (from the Dollar Store)
  • Stencil
  • Cutting board
  • Exacto knife
  • Hot glue gun
  • Pencil
  • Ruler
  • C7 white lights (Canadian Tire)
  • Strong tape
  • Time: Roughly 3 hours
  • Cost: Roughly $15.00
Trace out  your shape, leaving sufficient too for the lights, on the foam board.
Evenly space out your holes for the lights and trace a circle the width of the bottom of the light bulb (the green part).
Take your time ensuring the spacing is correct. There were 25 lights on a string so we made 25 holes.
Next, carefully cut out each hole (this is a good time to open that bottle of wine and patience...)
Now cut out strips using the bristol board to make your shape 3-D. Our strips were roughly 2.5 inches wide.
Using the glue gun, attach the strips.
Insert the lights and voila!

Crushing On

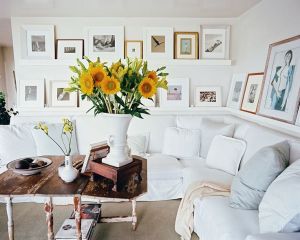
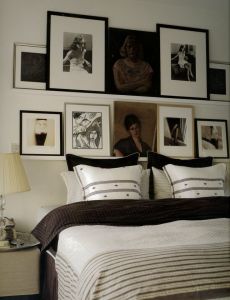
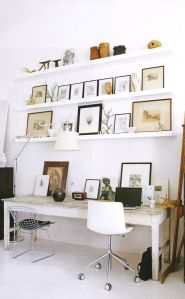
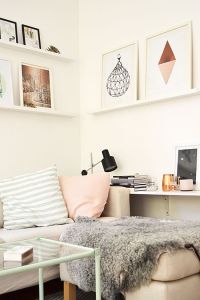
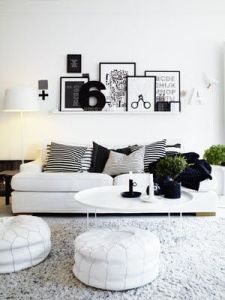
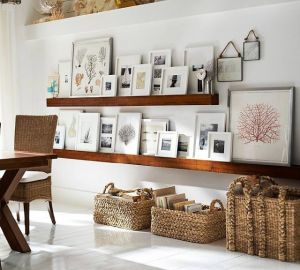
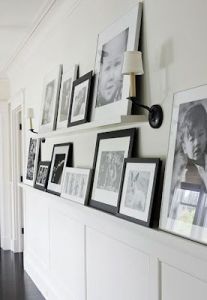
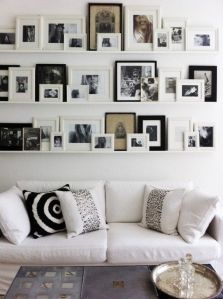
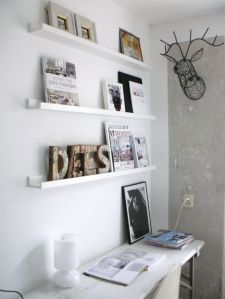
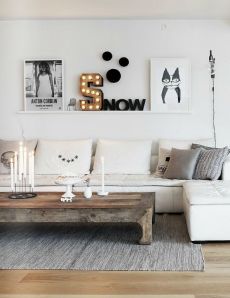
This crush is both pretty and practical. Picture rails are a unique alternative to the gallery wall and are often easier to install. The leaning photos create a casual atmosphere and can be switched around and moved on a whim--no nails or levels required (perfect for renters!). One long rail creates a crisp and simple aesthetic, while multiple rails add height and drama.

2e66173c67c6037a6dece8f2af4fa872

4c83e35264030facb9cedccf1f56493e

Office

1760aacb3c0be5c35f7918db9b54fb17

7107c5a3b75cca6c652e5e369804f048

a0958154ac3b9a17eea88b2a7aa4be25

Hallway

Multiple rails

Simple

Office 2

Check out my Crushing On - Picture Rails Board and see all of my Pins here.

Pumpkin Flower Arrangements

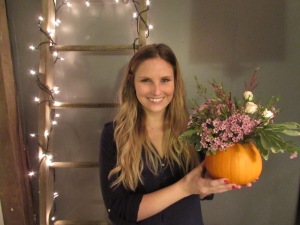
After getting inspired, I convinced my cousins and sisters to try making pumpkin flower arrangements for our Thanksgiving centre pieces. We were genuinely amazed with the results, and how simple and fun it was to achieve them. The individual beauty of each one was so fun, and the possibilities are endless--imagine white pumpkins with dark purple peonies for Halloween!

Our final results.

The Thanksgiving table.

List of Items Required: 

  • Small to medium sized pumpkins (ours came from Linton's Farm Market in Oshawa)
  • Plastic cup or tupperware to act as the vase inside the pumpkin
  • Carving knife
  • Sharp sheers or scissors
  • Marker to trace the cup
  • Flowers (ours came from Pineapple Street in Whitby and our own backyard)
  • Container to save your pumpkin seeds
  • Time: Roughly one hour

Trace the rim of the cup on your pumpkin so yo know how much to carve (the cup will hold your flowers).

Getting distracted by this picture-perfect photo op!

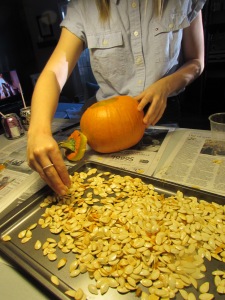
Remove the guts and save those seeds (they make the perfect day-after snack).

After filling your cup with water and placing inside the pumpkin, pick your favourite flowers.

Trim your flowers as needed, making sure to remove any leaves that will be sitting in the water.

Check out our pumpkin head shots!

photo 2-2

photo 3-3

photo 4-3

photo 5-2

photo 1-1

Hope you're feeling inspired to try your own pumpkin flower arrangement :)

Trending

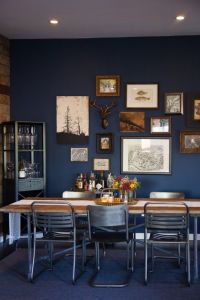
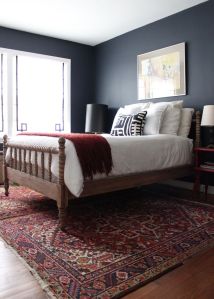
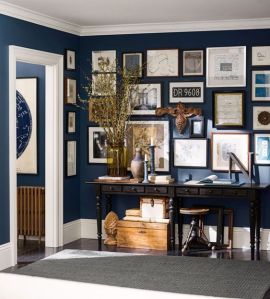
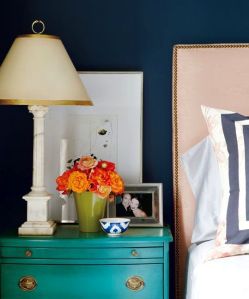
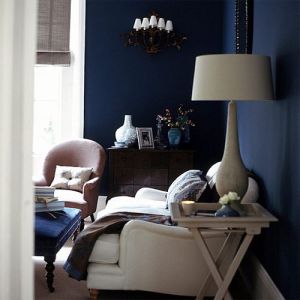
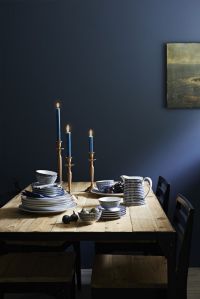
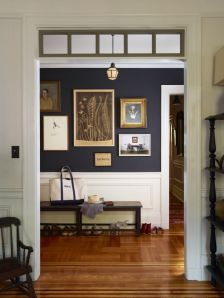
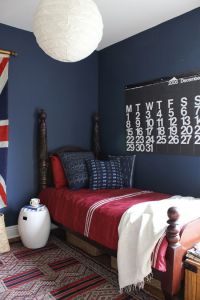
Navy blue is a personal staple colour in my wardrobe, as it works as a softer alternative to black against my pale skin. I also think the same principal applies to decor. Navy still gives you the inky, moody texture of black, without being quite as drastic. As a wall colour, it makes for a great backdrop to art and photos (see the many gorgeous gallery walls below), and although it is considered a cool colour, I think it creates an undeniably cozy atmosphere.

navy dining room

Navy bedroom

navy bathroom 2

navy gallery wall

navy bedroom 2

navy living room 2

navy dining room 2

Navy hallway

navy kids room

Check out my Trending - Navy Walls board here, and see all of my pins here.